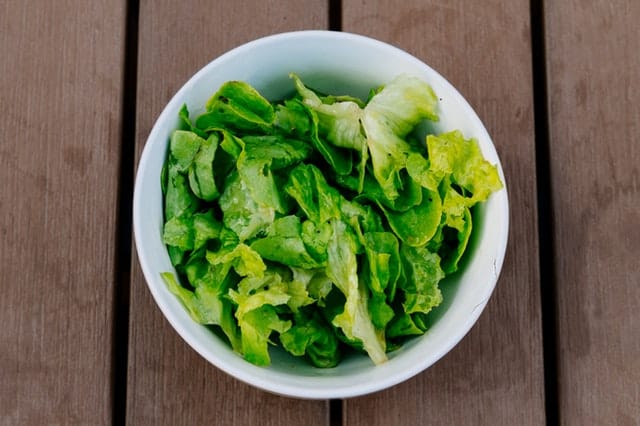
Whether you buy them from a grocery store, farmers market, or CSA, or grow them in your own garden, fresh leafy greens are bound to enter your home with sand and grit clinging to them, especially at the bottom of the bunch. To enjoy them, you must first clean them properly. And to get the best out of your leafy greens, you must store them correctly. Poor storage makes them spoil or wilt quickly. The following tips will help you get the most out of your leafy greens.
Wash away the grit.
Tightly curled heads of iceberg lettuce or cabbage get the least dirty. Their structure makes it difficult for dirt to get in at the bottom. Usually, a quick rinse under a trickle (not a torrent!) of cold water from the faucet does the trick. Pat the head dry with a cloth towel, and it is good to go. Leaf lettuce can also be rinsed this way, paying special attention to the base of the bunch, where dirt tends to collect.
Other leafy greens tend to collect lots of sand and grit, especially right at the bottom of the bunch, where stems once met roots. This is especially true if they have grown in very sandy soil. Leafy green vegetables with narrow stems, such as spinach and small beet greens, tend to be the dirtiest. Some will be dirtier than others, but a grit free bunch of leafy greens is hard to find.
To clean spinach, chard, collards, and other leafy greens, fill a large bowl about halfway with cool water. Submerge a handful of leafy greens at a time and swish it around gently. Check to see if any part of the vegetable is especially dirty. If you can see grains of sand clinging to a stem or leaf, rub that part gently with your finger until the sand is gone.
Place the washed leaves on a clean, dry cloth towel or in a salad spinner. Pat or spin dry.
If you can see a layer of sand building up in the wash bowl, which will happen if the greens are very dirty, change the water before washing more. For an especially dirty bunch, you may have to change the water two or three times.
Do not put the greens away wet.
Many experienced leafy green consumers advise not washing the greens until you are ready to use them. This is sound advice. But you may find, after washing your greens, that you can’t use all of them right away. If this happens, make sure they are dry before you put them away.
If you have a salad spinner, that is the most reliable method for drying greens. Operated by hand, a salad spinner consists of a bowl with a basket inside it that spins. Half a minute or so of spinning pulls the water off of the greens, leaving them much drier than towels can ever get them.
If you do not have a salad spinner, pat the leaves dry with a towel. For this purpose, a cloth towel works somewhat better than paper. Leave them out in the open, or in a colander, for at least ten minutes.
Store leafy greens in a dry container that is not airtight.
There are many storage bags and containers on the market now that are advertised as keeping vegetables fresher for longer. There are also many simpler ways to store leafy greens.
The important thing is that the greens be stored in a container or bag that is not wet and is not so airtight that it will keep in all of their natural moisture. Wetness leads to rapid spoilage. One simple way to ensure that the greens will keep for a week without spoiling is to put them in a plastic bag with some room at the top, blow into the bag so that it fills up with air, and seal the top without pushing the air out. This makes the bag bulkier, but it keeps the greens fresh.
Storing your greens in a bowl with a lid that covers but does not seal it is another option. You can also use a bowl without a lid and cover it with a cloth towel. Do not leave it uncovered, or the greens will wilt.
If you have more than you can eat in a week, blanch it and freeze it.
Freezing leafy greens as they are, turns them into mush. So does cooking them. Blanching lets them retain their shape and most of their nutrients. Greens that have been blanched and frozen are no longer good for salads or sandwiches, but they are good for anything cooked: soups, casseroles, quiches, stir fries, and so forth. This is not recommended for lettuce.
To blanch greens, first wash and dry them. Remove tough stems and damaged pieces. Fill a good size pot about 2/3 of the way with water and bring it to a boil. While the water is heating, assemble a large bowl of ice water.
When the water boils, add the greens. Collard greens should be boiled for five minutes. All other leafy greens should be boiled for three. Keep careful track of the time.
As soon as the boiling time is up, remove the greens with tongs and plunge them into the ice water. Leave them in the ice water as long as they boiled. If they were in the boiling water for three minutes, they should be in the ice water for three.
Drain the greens thoroughly. Put them in freezer safe bags or containers and freeze.
The same blanching water can be reused up to five times. Add more water to the pot and more ice to the ice water to keep the levels and temperatures the same.
These tips should help you enjoy your leafy greens. For the best taste and nutrition, it is ideal to eat them as fresh as possible. The day you bring fresh leafy greens home is a great day to eat your greens.


